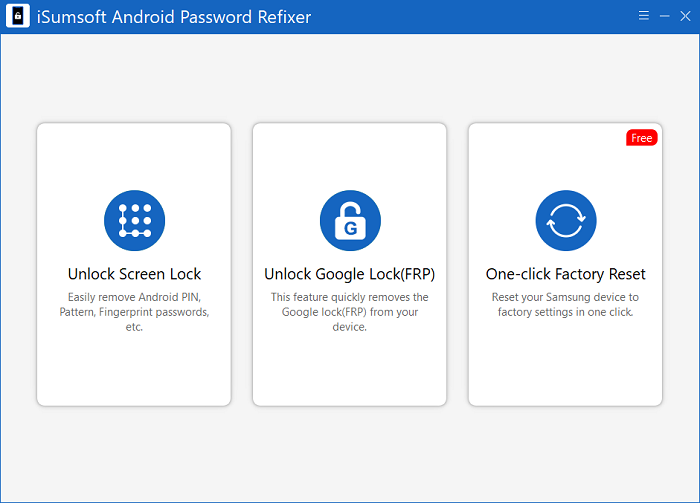
Do you forget your Android Screen Lock password and can't unlock your phone? Is your Samsung/Vivo/Xiaomi device stuck on the Google Account Verification page or FRP lock? Do you need to factory reset your device as you cannot perform it smoothly? iSumsoft Android Password Refixer can help you with all these. This tutorial will show you how to use iSumsoft Android Password Refixer to bypass FRP from Samsung/Vivo/Xiaomi devices, remove the Screen Lock on all Android phones and factory reset your Samsung phones with one click.
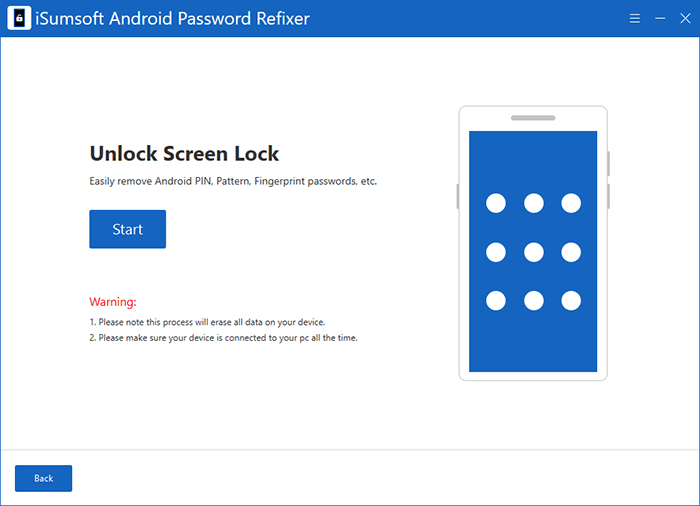
Step 1: Choose the Unlock Screen Lock. Please note this method will erase all the data on your phone.
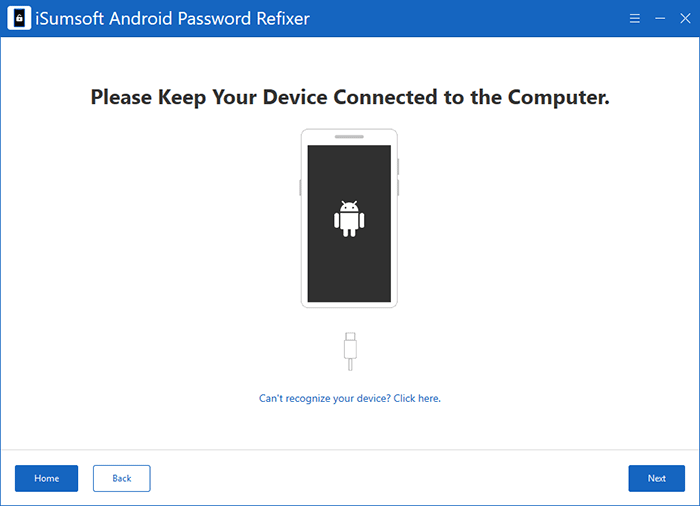
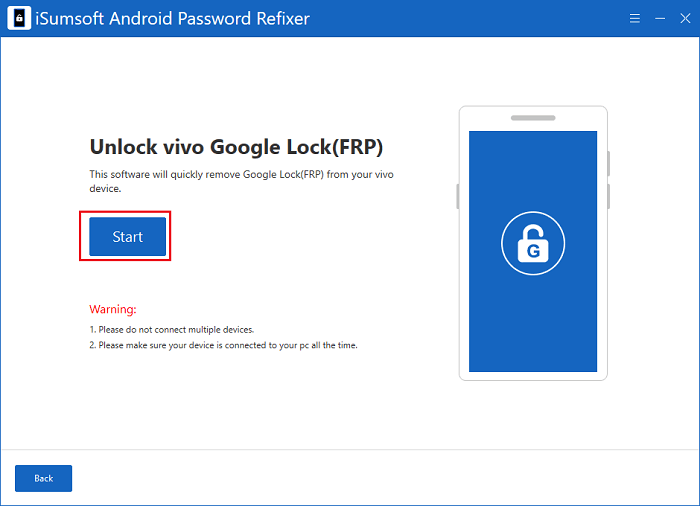
Step 2: Connect your device to the PC via a USB cable and click on Start.
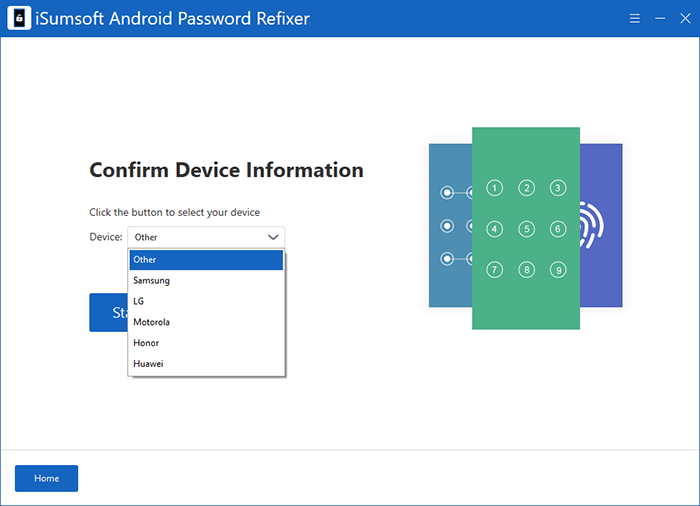
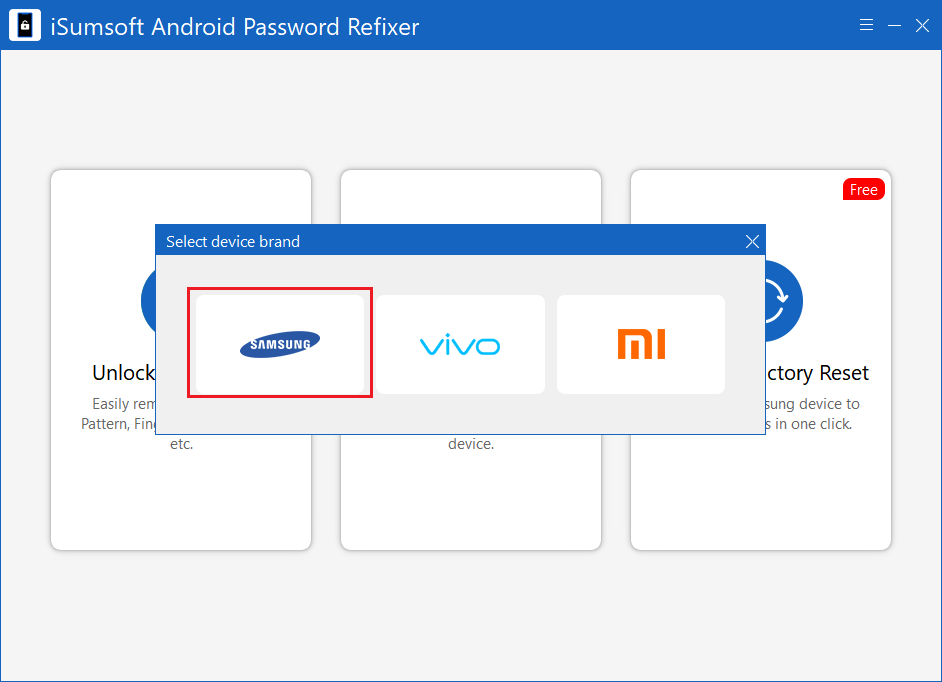
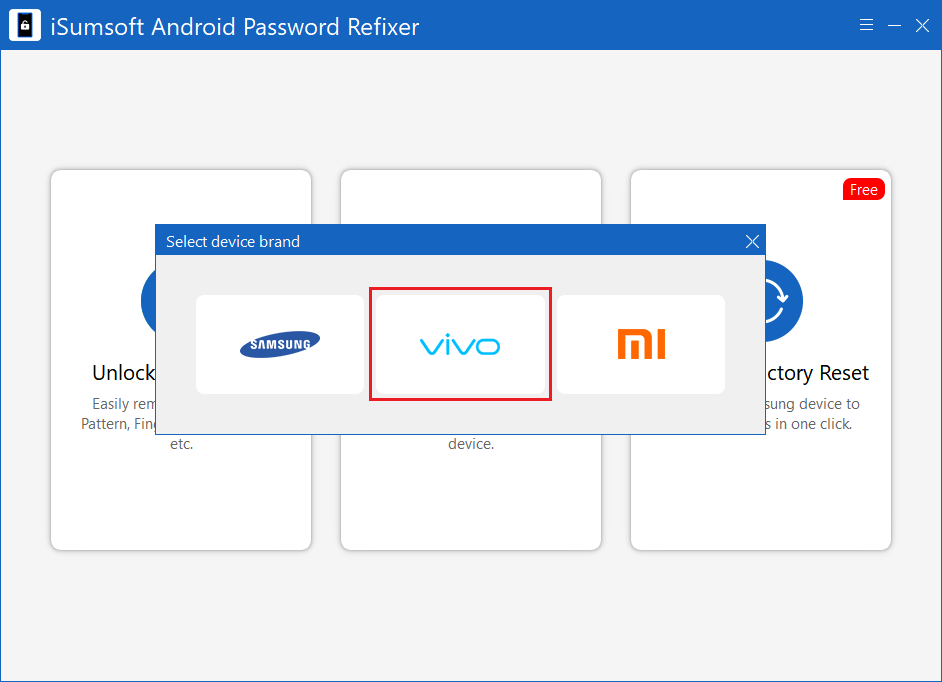
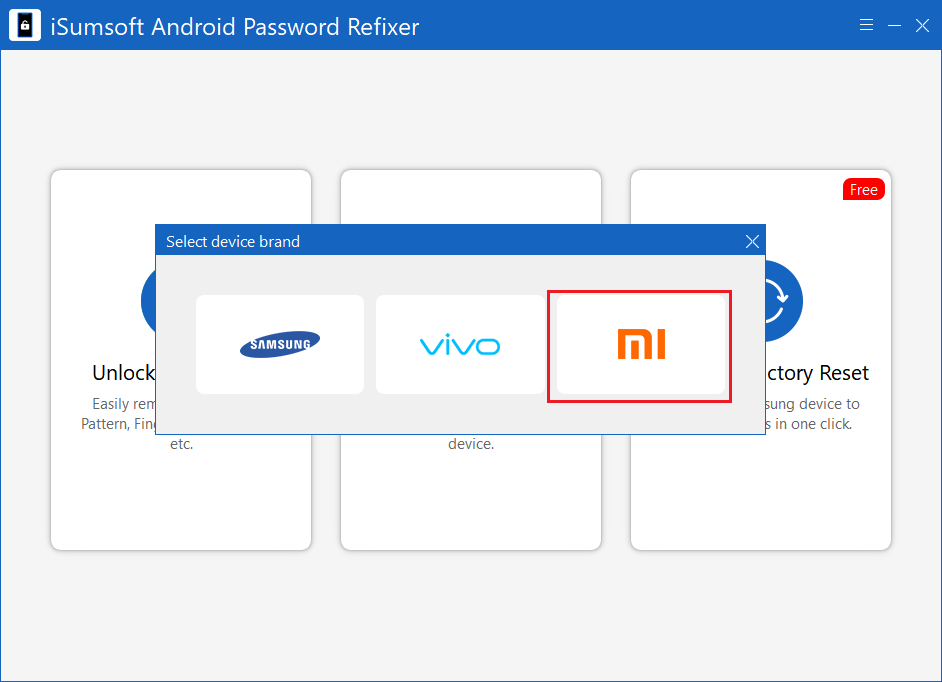
Step 3: Verify your device brand and then click on start to download data package of system files. If there is no option matching your device brand, just choose Other. Then click on Start.
Notice: Make sure the software has detected your device. The picture below indicates the program fails to recognize it. Do not click next when you see this interface.
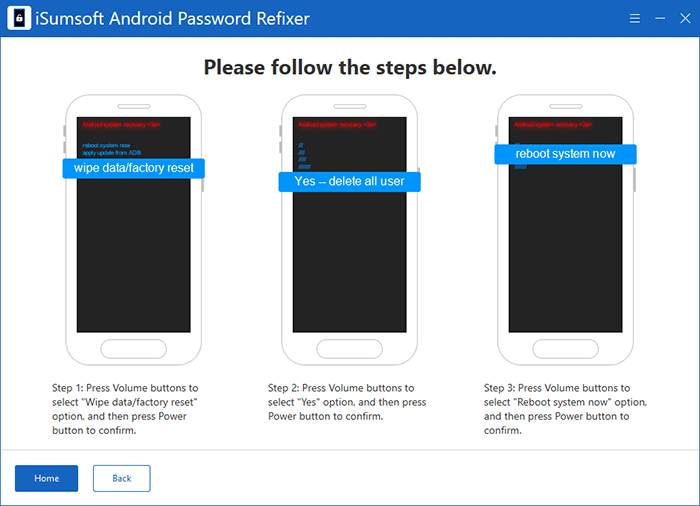
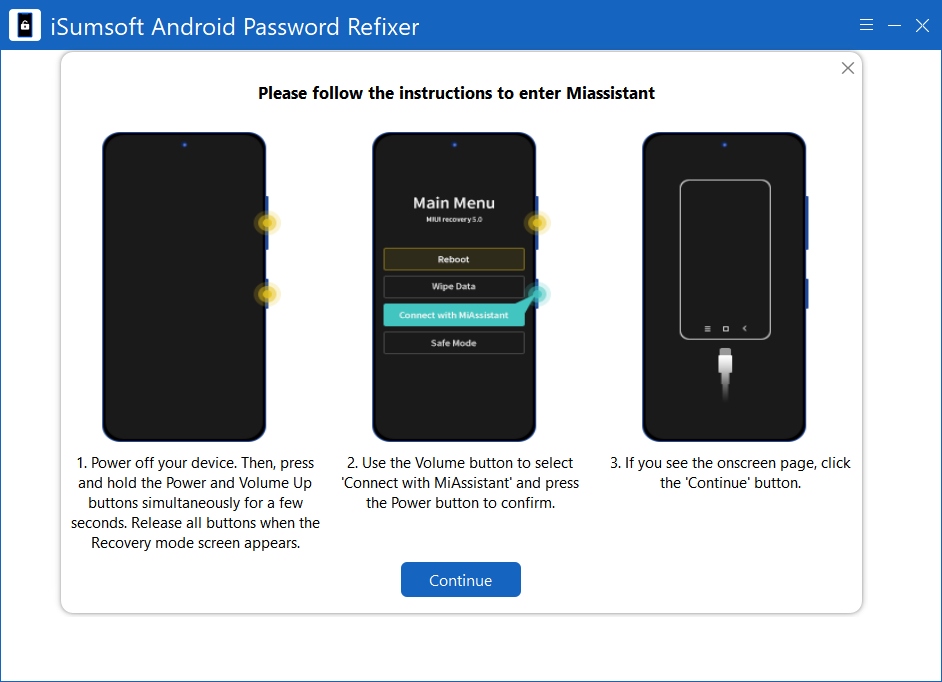
Step 4: Follow steps on the software interface to push your phone into recovery mode. When you see some options on your phone screen, that means it has entered recovery mode. Then, click on Next.
Step 5: On your phone, select wipe data/factory reset and then
Reboot.
Press Volume Buttons to move options. Press Power Button to confirm.
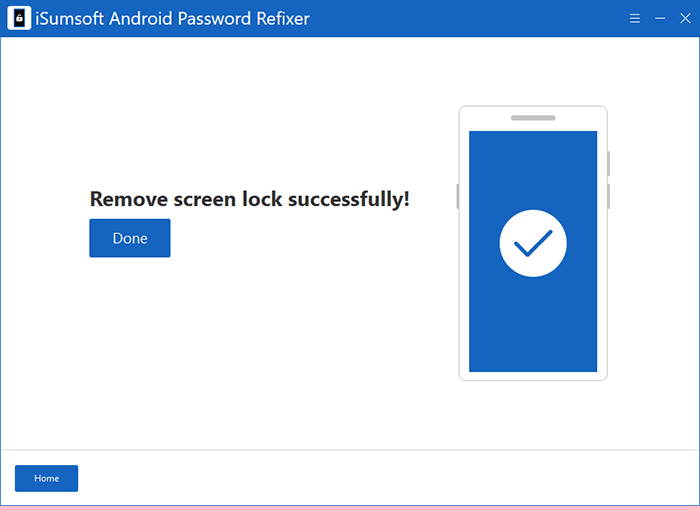
Step 6: Now, there is no further operations needed. The program will automatically remove screen lock. Just wait for the unlocking process to complete.
In this section, choose your matching Android version to streamline the unlocking process. If you do not know about it, click Check your phone OS version.
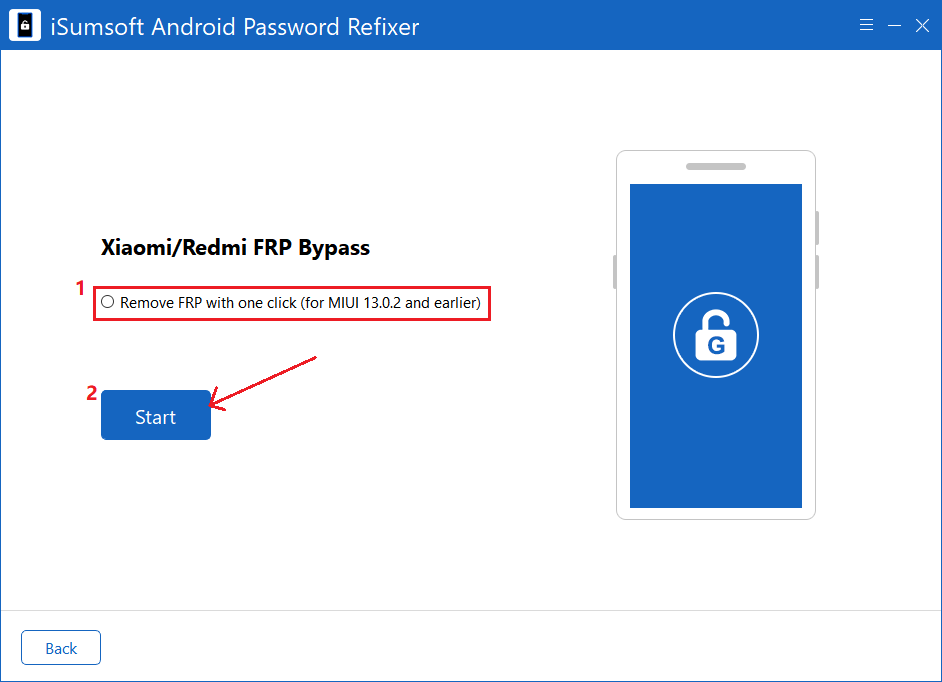
1: Select All Android Versions, then click on Next.

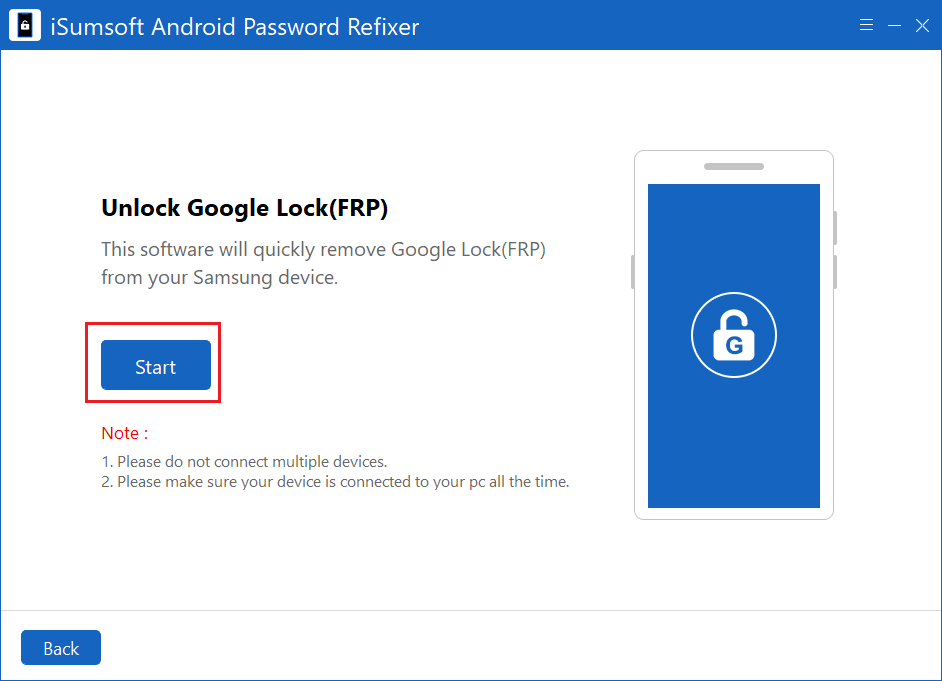
2: Here comes the onscreen instructions. Follow it to set up your Samsung device.

3: The software will send a notification to your phone.

4: After receiving the notification, your phone needs to be authorized by following the picture guide. Then click Continue to proceed.

5: When "Remove Google Lock(FRP) Successfully" appears on the interface, you have unlocked the account, and you can click on Done to exit.

1: Select USA Model and then click on Next to proceed.

2: A notification is being sent to your device.
3: Once the Google Lock is removed, you can find the "Remove Google Lock(FRP) Successfully" message on the interface and your device will restart.
1: Select Android OS 11/12/13 and click on Next, then the software will send a notification to your phone.

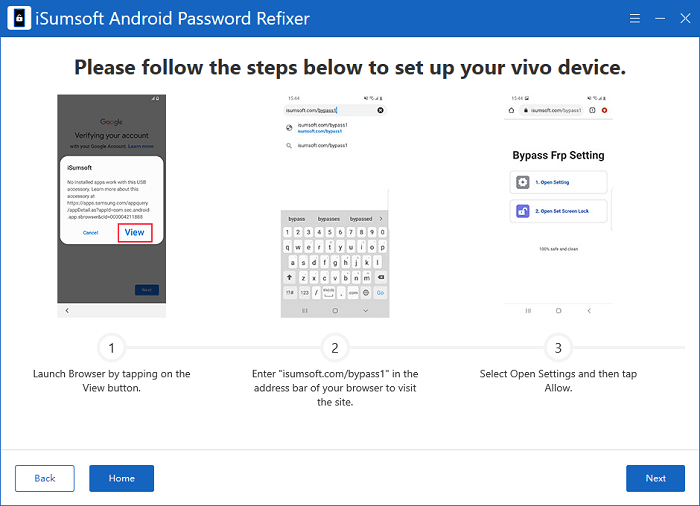
2: You must first click on View on the phone, then download and install Alliance Shield on your phone according to the instructions.

3: Follow the onscreen instructions to remove FRP (12 steps in all).

5: When "Remove Google Lock(FRP) Successfully" appears on the interface, you have unlocked the account, and you can click on Done to exit.
1: Select Android OS 11 (Two devices) and click on Next.

2: Then you need to set up your device according to the onscreen instructions.

3: A notification is being sent to your device. Wait for the process to complete.
4: Now the Google Lock has been removed when "Remove Google Lock(FRP) Successfully" appears.
1: Select Android OS 6/9/10 and click on Next, then the software will send a notification to your phone.

2: After receiving the pop-up window, you need to follow the onscreen instructions with a total of 9 steps to set up your device.

3: When prompted "Remove Google Lock(FRP) Successfully", click Done.
1: Select Android 7/8, then click on Next. And your phone will receive a pop-up window.

2: Follow the onscreen instructions to set a PIN code on your phone.

3: You can then enter a new Google account with a PIN code.

3: When prompted "Remove Google Lock(FRP) Successfully", you can select Done to exit.
1: Select Android 5/8 and then click on Next to send a notification to your phone.

2: Follow the onscreen instructions to download a specific package on your device.

3: After installing the package according to the guidance, you can sign in with a new Google account.

4: When prompted "Remove Google Lock(FRP) Successfully", you can select Done.
1: Select Android 7 and then click on Next to send a notification to your phone.

2: You will then be taken to a tutorial page, a 22-step process, to download the required package and set up your device.

3: Once you have successfully completed the settings, you can click Done to close the window.
1: Select Tablet series and then click on Next to send a notification to your phone.

2: Follow the onscreen instructions to bypass FRP.
3: Once you have successfully completed the settings, you can click Done to close the window.
Once you have successfully completed the settings, you can click Done to close the window and your device will restart automatically.
Wait for the process to complete until "Remove Google Lock(FRP) Successfully!" appears on the interface.
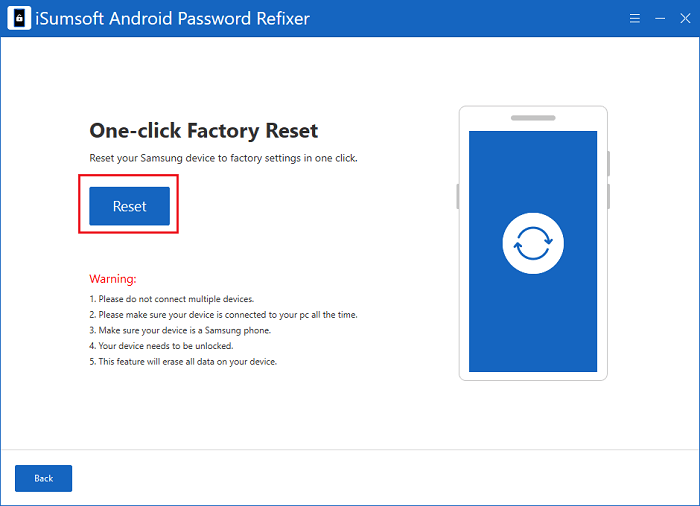
Step 1: Choose One-click Factory Reset.
Step 2: Before clicking on Reset, you must read the onscreen warning, ensuring that your device can be reset successfully.
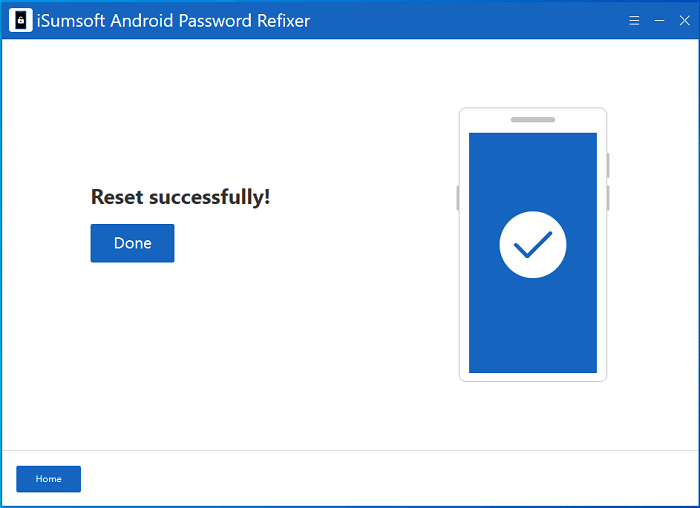
Step 3: After a few seconds, "Reset Successfully" will appear on the interface and your device will restart automatically, which means your device has completed the factory reset.